
Audacity is a free, open-source audio recording and editing application that can be found at www.audacityteam.org.
Mac users: After installation, Audacity may be blocked from opening by the security settings of the operating system. You may unblock the application by opening System Preferences, selecting Security & Privacy, and clicking the button marked Open Anyway.
Recording and Saving Audio Files
While Audacity offers advanced capabilities, our needs right now are simple: record and save audio.
- Open Audacity on your computer.
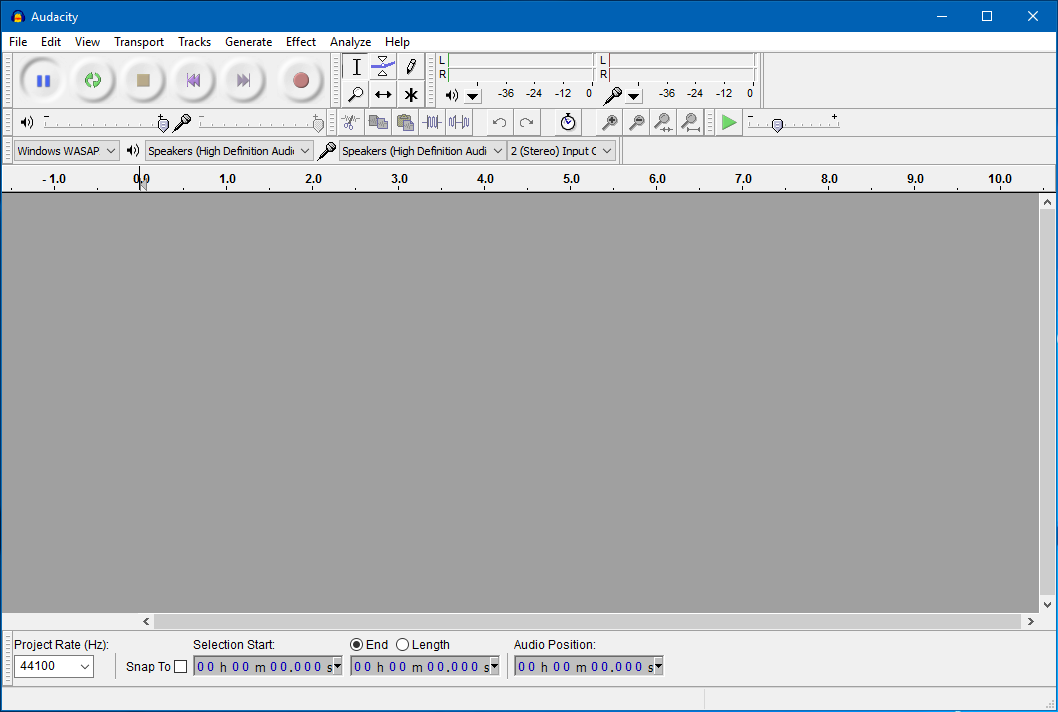
- To begin recording audio, press the red Record button.

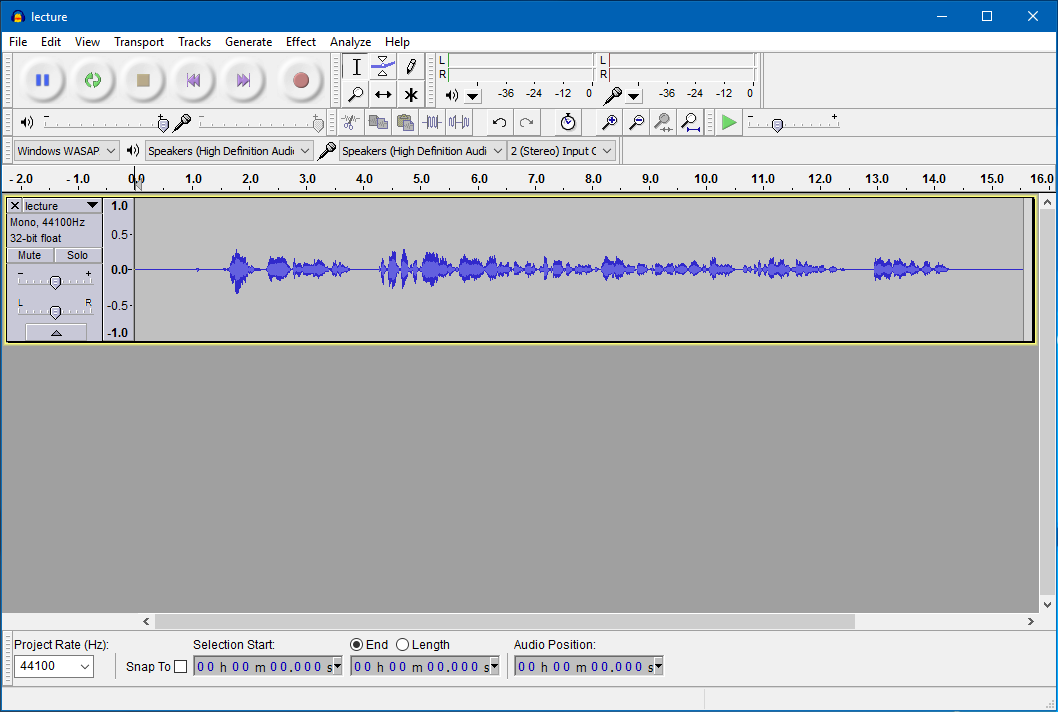
- The audio you record will show up in the dark grey window below the controls.
- To stop recording, press the Stop button.

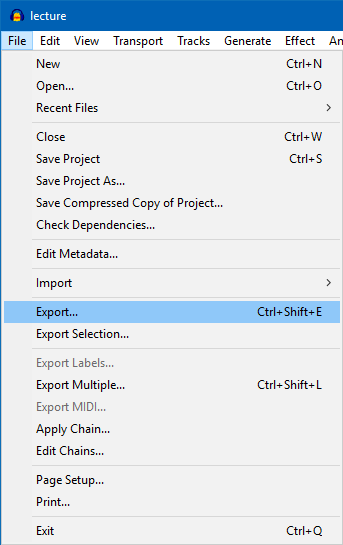
- When you’re happy with your recording, you will need to export the audio in a format that others can use. Choose File, then Export….
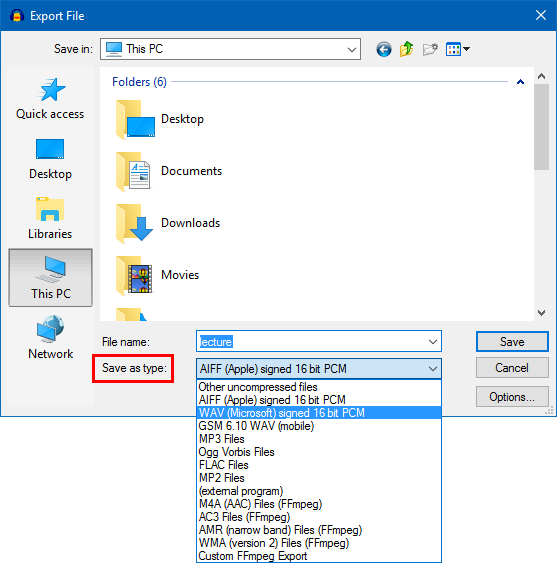
- In the window that opens, choose a location to save your file, such as your Desktop. Change the file type to WAV by selecting it from the Save as type dropdown menu.
- Another window will open prompting you to fill in details about the recording. You can choose to disregard these options if you don’t need them by simply clicking OK. Your file will then be saved and ready to share with others.
Saving the Audacity Project File
You may want to save your original project file for safe keeping or later editing. The next steps are optional, but recommended.
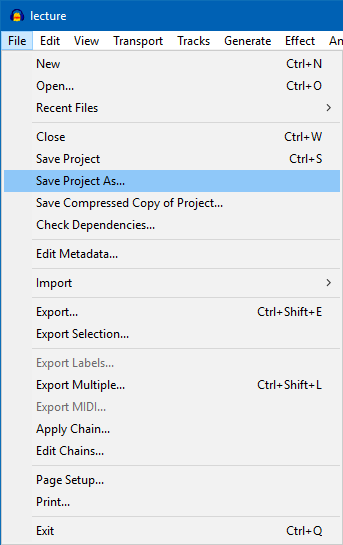
- Click on File, then Save Project As.
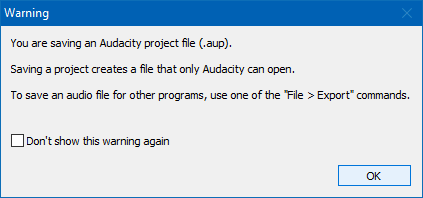
- Audacity will warn you that the file you are about to create can only be opened again by Audacity. Click OK.
- Choose a location on your computer and give the file a name. Click Save. Your project can now be reopened at any time for later use.
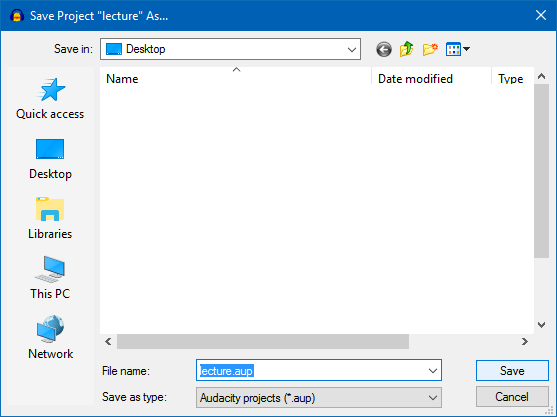 Note: Audacity will save a file in its “aup” format, in this case “lecture.aup,” along with a folder, named “lecture_data.” Both the original file and the data folder must be kept together in order for Audacity to reopen the project.