This is one of the most basic and easy-to-use audio recording programs available for free on computers using the Microsoft Windows 10® operating system.
If Windows Voice Recorder is not pre-installed on your computer, download Windows Voice Recorder from the Windows store. If Windows Voice Recorder is already downloaded on your computer, you can search for “Voice Recorder” using Cortana.

Recording and Saving Audio Files
Once you have installed or located the Voice Recorder application, follow these instructions for recording and saving an audio recording:
- Open Voice Recorder on your computer.

- To record audio, click on the Microphone button.

- To stop recording, click on the Stop button.

- After stopping the recording, the program will auto save and name your audio.
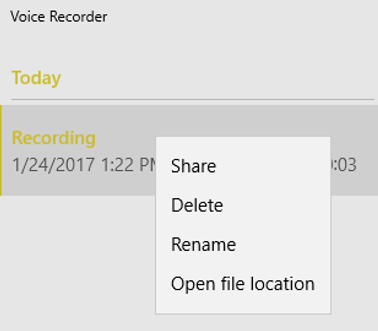
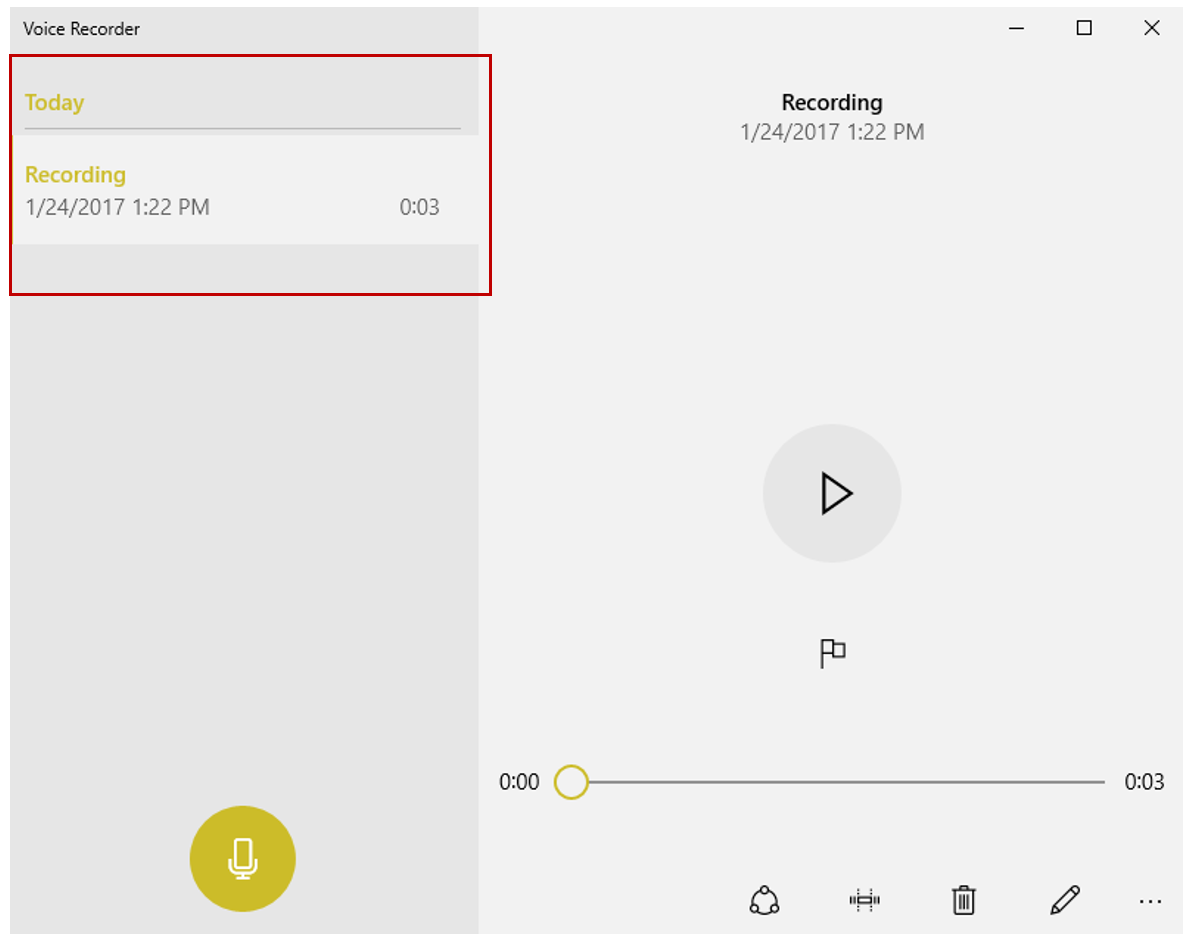 From this screen you can share, trim, delete, or rename a file.

- Because the audio is auto saved with a default name, it is important to rename your recorded file. Rename the file by clicking on the Pencil icon.

Type the name you would like to give your recording and click Rename
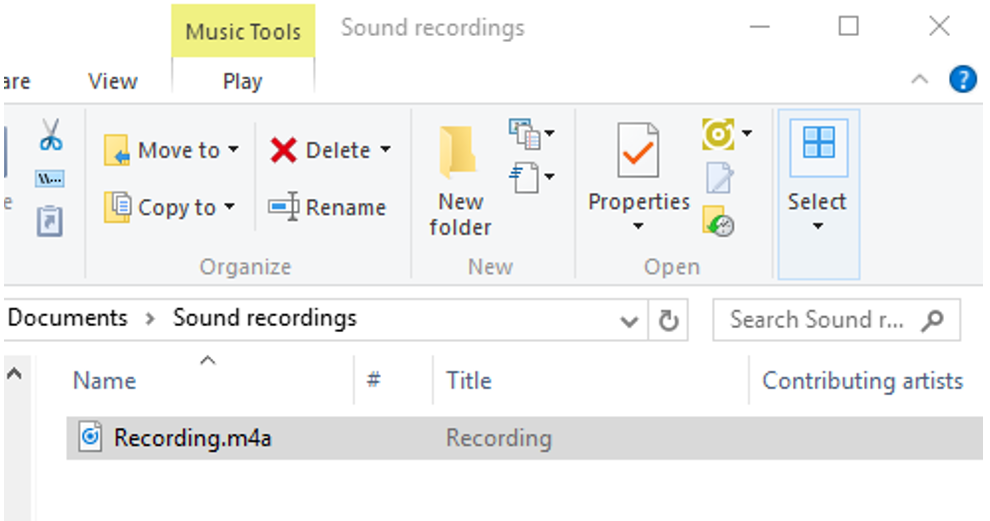
- To locate the file where the audio is saved, right-click on the file and select Open file location.
- A window will pop up on your screen with your audio recording. From this screen you can rename, move, copy, or delete a file.